Introduction
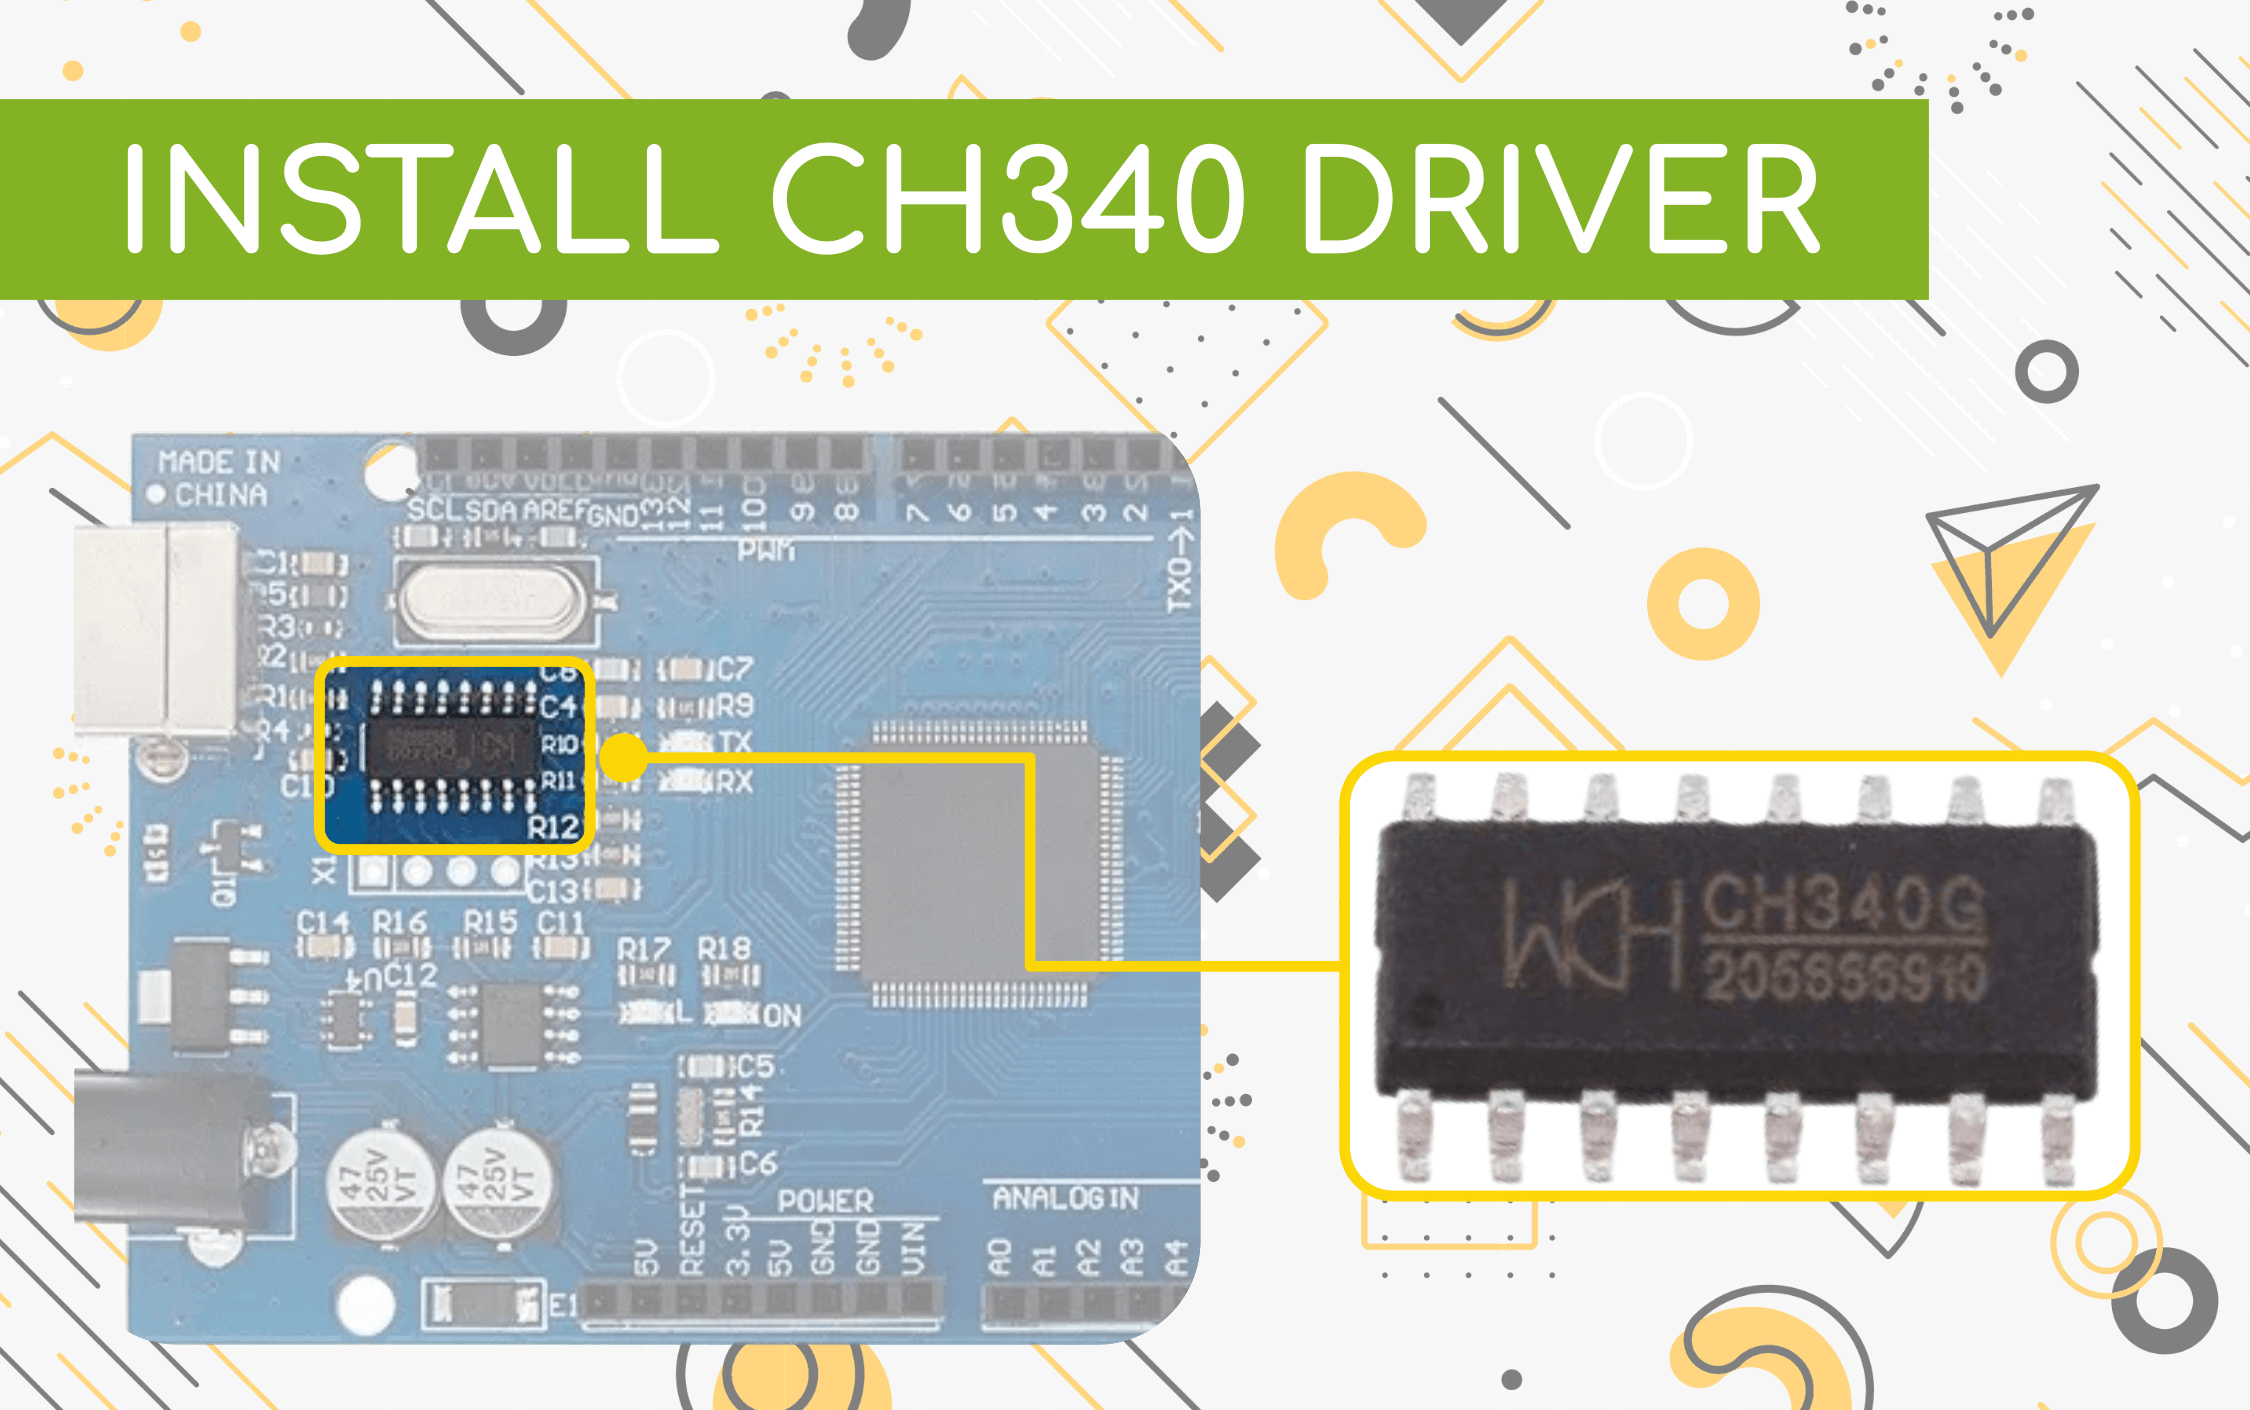
The CH340 family is a USB-to-serial interface used by many Arduino-compatible boards and microcontroller breakouts. Windows, macOS and Linux often recognise it automatically, but a missing or blocked driver can leave the board without a usable serial port.
The CH340G and CH340C use the same driver package. The G variant uses an external crystal oscillator; the C variant has an internal oscillator.
Required Materials
Depending on which board you have, the CH340 chip may already be populated. Check the board documentation, a product listing, or the marking on the USB interface before installing a driver.
Drivers
The driver works with both Windows, Mac and Linux based PCs. We've provided a quick link to the latest drivers below
Alternatively you can visit the manufacturers website and browse and download the drivers directly:
WCH CH340 Driver's Download Page
Installing on Windows
Download and run the Windows installer.
Click UNINSTALL to remove an old driver, then click INSTALL. Reconnect the board after the installer completes.
Verify the Windows driver
Plug the CH340 board into USB and use either of these checks.
Option 1: Checking through device manager
After installation, the CH340 should appear as a COM port.
Open device manager by opening the Start Menu and typing Device Manager
Expand Ports (COM & LPT). The chip should appear as USB-SERIAL CH340 (COM##); the number varies by computer.
Option 2: Checking through Arduino IDE
If Arduino IDE is installed, open Tools → Port with the board disconnected and note the available ports. Connect the board and check again; a new serial port should appear.
Note: Depending on your computer, COM ports via both verification methods will show a different number to what we have shown in our image examples
Installing on macOS
Open the terminal program by going to Go > Applications
Open the terminal program in Utilities > Terminal
You'll now need to point your terminal to where the *.kext files are stored
For MAC OSX v10.8 and below, use the following command:
1cd /Library/Extensions2
For MAC OSX v10.8 and below, use the following command:
1cd /System/Library/Extensions2
In this example we will be using a version higher than V10.9 so we will be using the first command
To check if the CH340 driver is in the correct path, use the following command to show the contents of the folder
1ls
Now check for the CH340 driver files use the following command
1ls | grep usb
You should see something that resembles the below. If you see either usb.kext or usbserial.kext), the CH340 driver is installed
If you find an old driver bundle, remove it only when you are certain it belongs to the CH340 package and you have a backup. On current macOS versions, prefer the vendor's uninstaller or System Settings rather than manually deleting kernel extensions.
1sudo rm -rf /Library/Extensions/usb.kext2sudo rm -rf /Library/Extensions/usbserial.kext3
Download and extract the macOS driver, open the .pkg installer, and restart when prompted.
Now, open the .pkg file in the unzipped folder and follow the instructions to install. You will need to restart your computer
Note: Depending on the security settings on your computer, you may need to adjust your security and privacy settings to allow the installation of the driver. If you get a pop-up saying that the installation has been blocked, open Security & Privacy settings and click on the allow button to enable the driver install
Verify the macOS driver
Use one of the following methods to verify if your driver has been successfully installed
Option 1: Through Command Line
With the CH340 device unplugged, open the terminal by going to Applications > Utilities > Terminal
Next, run the following command
1ls /dev/cu*
You will see a list of devices connected to your MAC. You should see something similar to the below
Connect the CH340 device and run the command again. It should appear as /dev/cu.wchusbserial***; the suffix varies by computer.
Option 2: Through the Arduino IDE
If you have the Arduino IDE installed you should be able to see a change in the number of COMs ports available with and without the CH340 device connected. Firstly, without the CH340 device connected to your computer, open Tools > Port and observe the number of Serial ports available
Next, connect the CH340 device to your computer and recheck the available serial ports. You should notice a new port that wasnt their previously, this is your new CH340 device connected and communicating with your computer
Note: Depending on your computer, COM ports via both verification methods will show a different number to what we have shown in our image examples
Raspberry Pi (Raspberry Pi OS)
Linux includes the kernel driver in most Raspberry Pi OS images. Update the system before testing:
1sudo apt-get update2sudo apt-get upgrade3
Installing on Linux
Download the CH340 linux Zip file with the following link
Verify the Linux driver
Option 1: Command line
Plug the device into your computer and run the following command
1ls /dev/ttyUSB*
The port should show up as a result
Option 2: Arduino IDE
If you have the Arduino IDE installed you should be able to see a change in the number of COMs ports available with and without the CH340 device connected. Firstly, without the CH340 device connected to your computer, open Tools > Port and observe the number of Serial ports available
Next, connect the CH340 device to your computer and recheck the available serial ports. You should notice a new port that wasnt their previously, this is your new CH340 device connected and communicating with your computer
Click to Enlarge