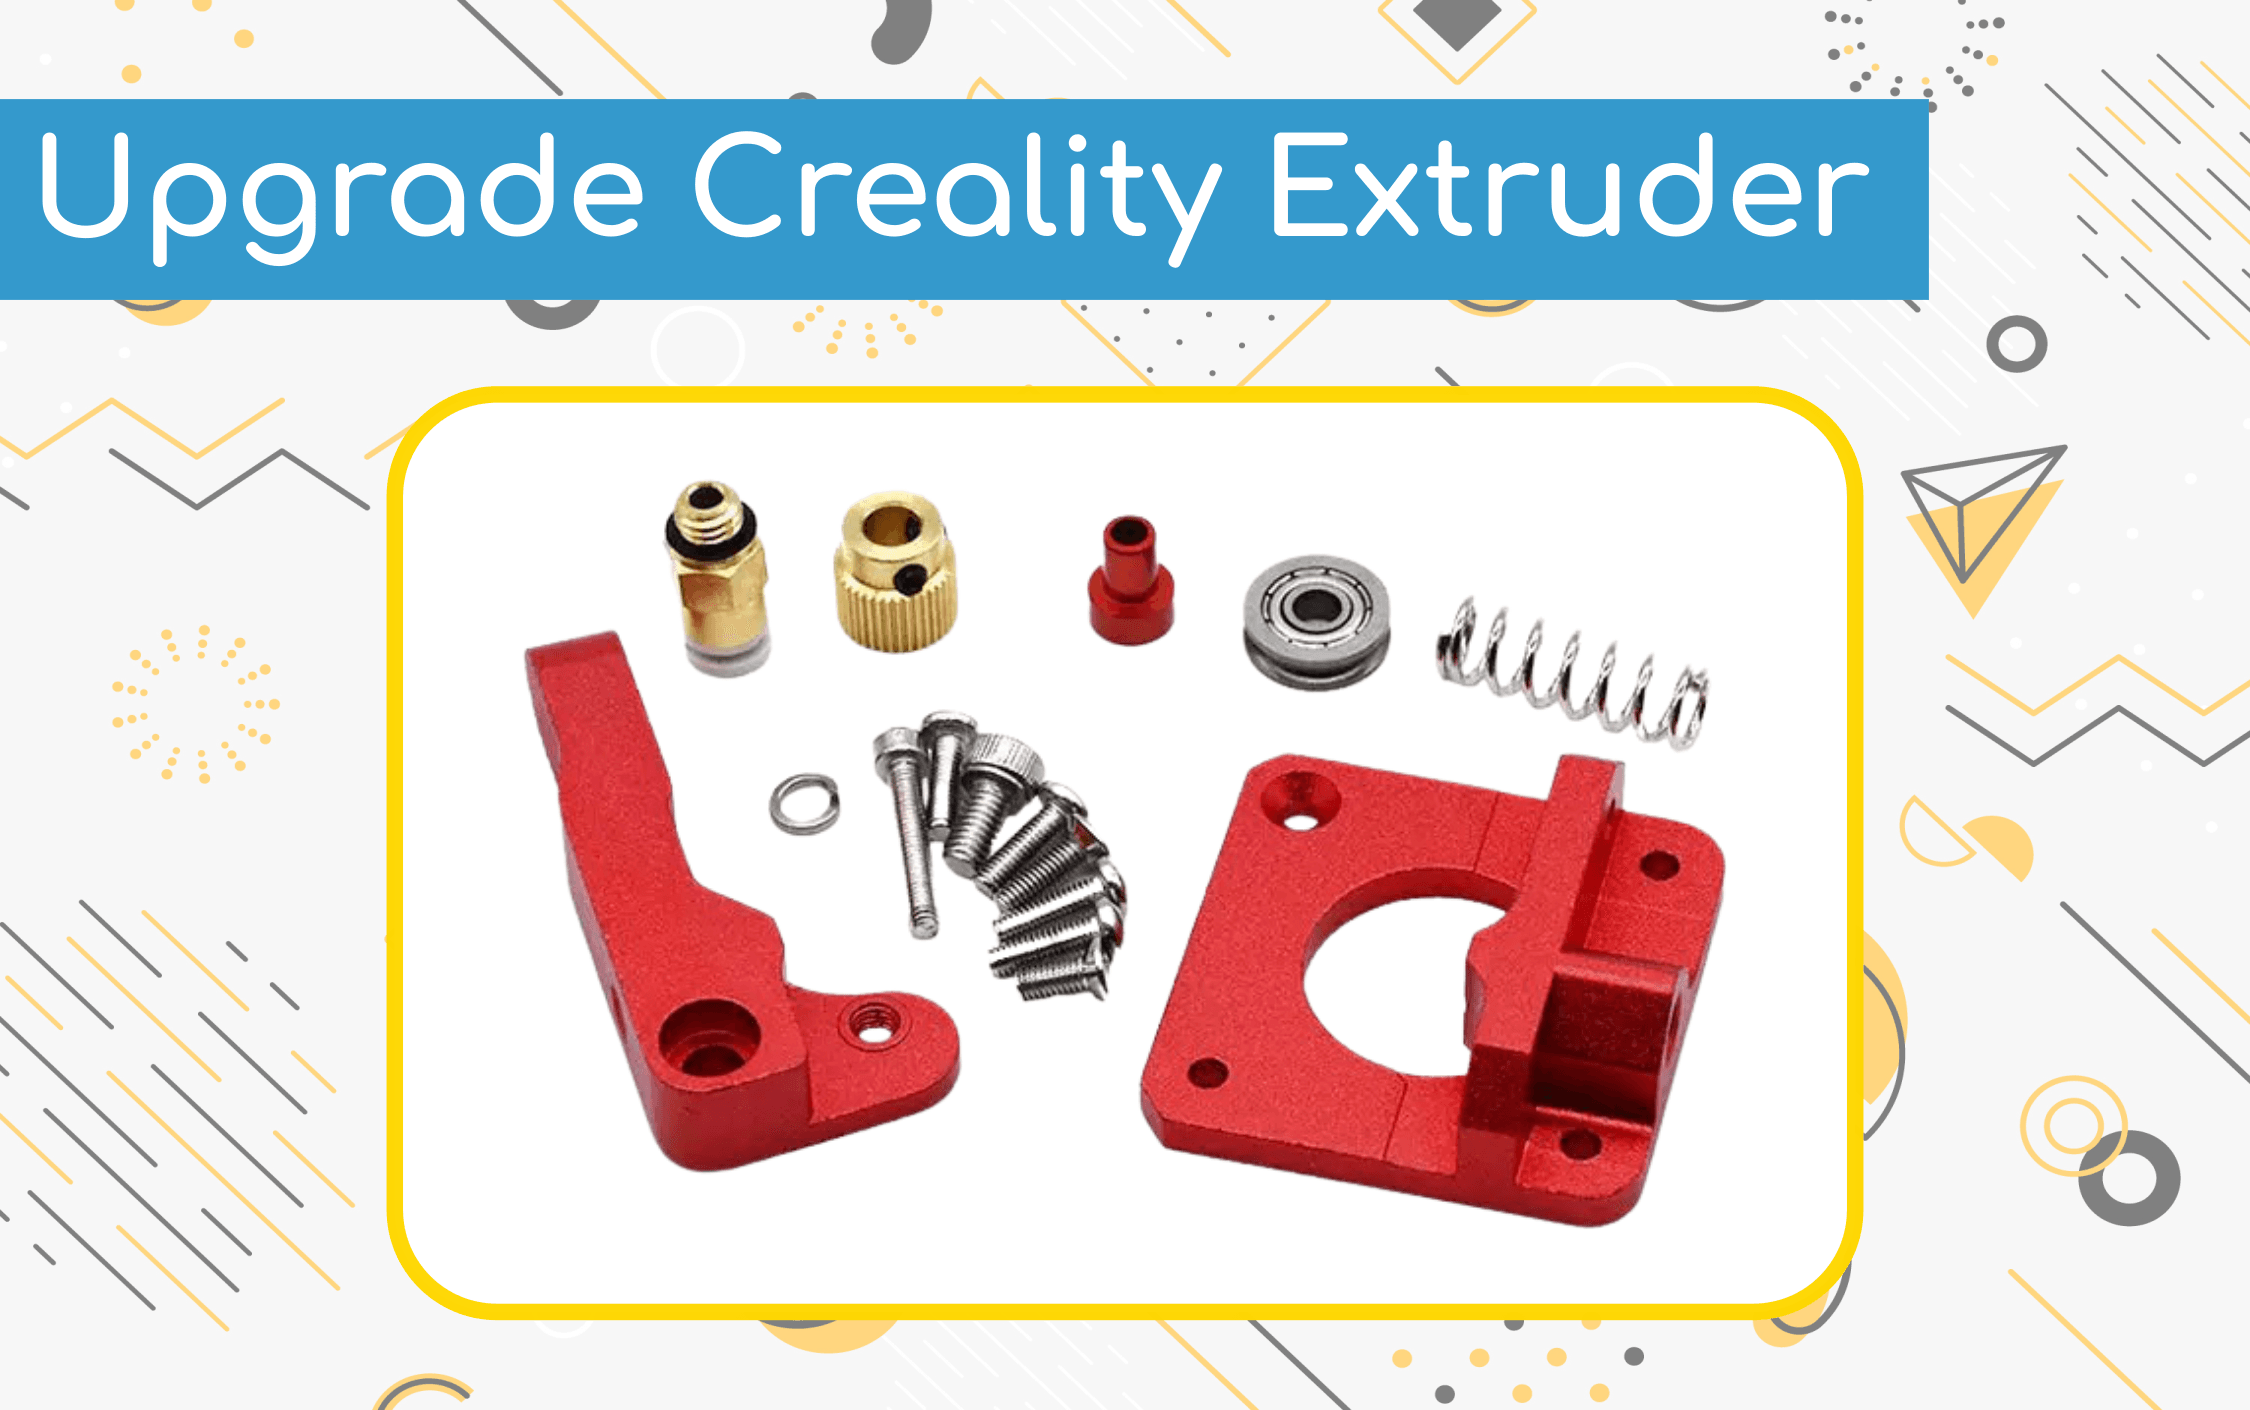
This guide explains how to replace the moulded plastic extruder on a Creality Ender 3 or CR-10 with an all-metal extruder. The upgrade can improve filament grip and long-term reliability, but it is still important to recalibrate extrusion after the change.
Required Materials
You’ll need an aluminium extruder upgrade kit and a 2 mm ID / 4 mm OD PTFE Bowden tube. Replacing the tube at the same time is optional, but useful if the existing tube is worn or loose.
- Internal diameter: 2 mm
- Outer diameter: 4 mm
Step 1 — Remove the old Bowden connection
Unload any leftover filament. With the printer cool and disconnected from mains power, unscrew the retaining coupling that holds the Bowden tube to the extruder.
Step 2 — Remove the lever arm and spring
Use the supplied 2.5 mm Allen key. Compress the lever arm while removing its screw, then lift away the arm and spring.
Step 3 — Remove the spring retainer
Remove the spring retainer with the 2.5 mm Allen key.
Step 4 — Separate the motor
Remove the three screws connecting the extruder to the stepper motor. Support the motor as the screws come out so it does not drop or pull on the wiring.
Step 5 — Move the drive gear (optional)
The gear change is optional. Loosen the two black grub screws with the smallest Allen key, remove the old gear, fit the replacement, and tighten both screws. Loosen the replacement grub screws first if the gear will not slide onto the motor shaft.
Step 6 — Fit the aluminium housing
Attach the new metal housing to the motor with the three supplied screws. Use the countersunk screw in the lower-right countersunk hole.
Step 7 — Assemble the lever arm
Install the bearing on the compression arm with the supplied washer and screw. Attach the smallest round-head screw to the side of the arm.
Step 8 — Install the arm and spring
Fit the assembled arm to the extruder base and insert the spring between the arm and the extruder stop.
Step 9 — Set initial tension
Insert the long screw into the extruder stop and apply medium tension to the spring and arm assembly. Do not overtighten: the arm should move smoothly when pressed.
Step 10 — Refit the Bowden tube
Screw the Bowden coupler into the extruder, then push the Bowden tube fully into the coupler and lock it with the retaining collar.
Testing
Check that the drive gear lines up with the filament path. If it is too low, loosen the grub screw, reposition the gear, and tighten it again. Feed filament by turning the motor or using the printer controls; the gear should grip the filament without chewing it. If it slips, increase arm tension slightly.
After the mechanical test, run an extrusion-calibration test and recheck the first layer before starting a long print.